

During the cold winter, your water supply pipes can be vulnerable to freezing and bursting. This is especially true if your household has exposed water pipes that run through unheated areas, such as the garage, attic, or basement.
Insulating your water supply pipes is one of the most effective ways to prevent this problem and protect your plumbing system. Let’s take a closer look at how to insulate water supply pipes like a pro.
Choose the Right Insulation Material
The type of insulation material you choose matters when insulating your water supply pipes. Most insulation materials wrap around the pipes with tape or wire holding them in place. The most common insulation materials include fiberglass, foam, rubber, and polyethylene.
Fiberglass insulation is cost-effective and easy to install, while foam insulation provides better thermal resistance. Rubber insulation is ideal for pipes subjected to extreme conditions, such as oil or chemical exposure. And finally, polyethylene insulation is a good choice for those who want to combine insulation and soundproofing.
Measure and Cut the Insulation to Size
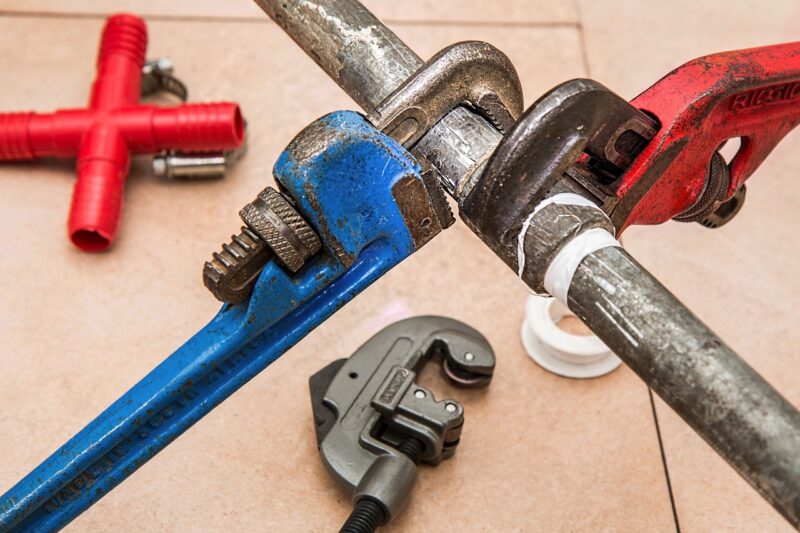
Before you start insulating your water supply pipes, measure and cut the insulation to the right size. Measure the length and diameter of the pipe and add an inch or two for overlap. Ensure the insulation snugly wraps around the pipe but isn’t too tight, as this could cause a reduction in water flow. Use a utility knife or scissors to cut the insulation to size and remove any excess material. Be sure to wear gloves and safety glasses when cutting the insulation.
Install the Insulation Properly
To install the insulation properly, follow these steps:
- Start at the end of the pipe closest to the water heater and wrap the insulation around the pipe in a spiral pattern.
- Avoid gaps or breaks in the insulation, which can cause heat loss.
- Hold the insulation in place with tape or wire, making sure the joints are securely sealed.
- When you reach a fitting or valve, cut the insulation to fit around it, and tape or wire it in place.
- Keep going until all the pipes have insulation secured with tape or wire.
Consider Hiring a Professional
While insulating your water supply pipes is something you can do yourself, it can be challenging and time-consuming. If you’re not confident with your plumbing skills or don’t have the time or tools to do it yourself, this is one of the reasons to hire professional plumbers vs. DIY. The last thing you want is to compromise the quality of your insulation or cause further damage to your pipes. Professional plumbers are highly experienced in this area and can ensure quality insulation installation on your water supply pipes for maximum efficiency and safety.
Now that you know how to insulate your water supply pipes like a pro, you can make this smart investment to save money and energy and protect your peace of mind. Whether you do it yourself or hire a professional, choose the right insulation material, measure and cut it to size, and install it properly. These steps can protect your plumbing system and ensure uninterrupted hot and cold water flow throughout your home.